


Shock detection labels are tamper-proof, mechanically actuated, impact detection devices. When the impact exceeds the allowable limit, the label will turn bright red. This is a clear deterrent to product mishandling in the supply chain. In the case of mishandling, bump detection labels provide evidence and can be used to document accountability from the first to last stages of the freight process. Join us to learn about the characteristics as well as the instructions for using the shock detection label in the following article.
Features of the shock detection label
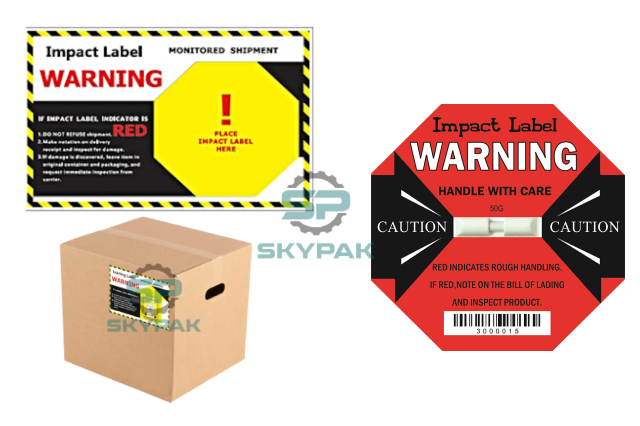
Shock detection labels allow users to ship fragile, sensitive, and perishable goods without losing control of their handling. This impact detection sticker acts as a powerful visual deterrent to careless handling issues, no matter what item you’re shipping. Labels affixed directly to the goods, our shock sensors detect and record the impact and mishandling of fragile, sensitive, or calibrated products during transit.
Some features of impact detection labels
The tamper-proof design prevents exchanges.
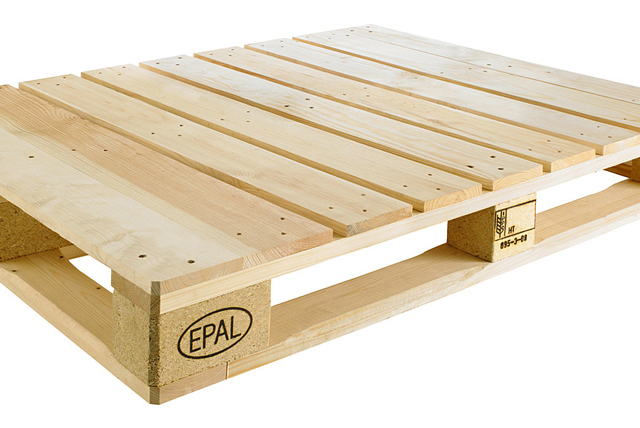
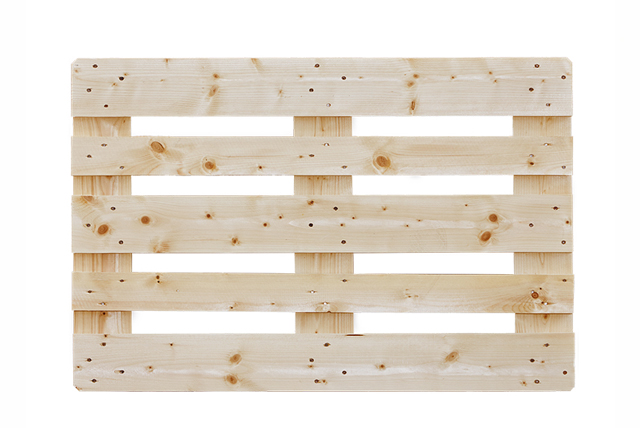
Use in a variety of production, transport, and storage environments
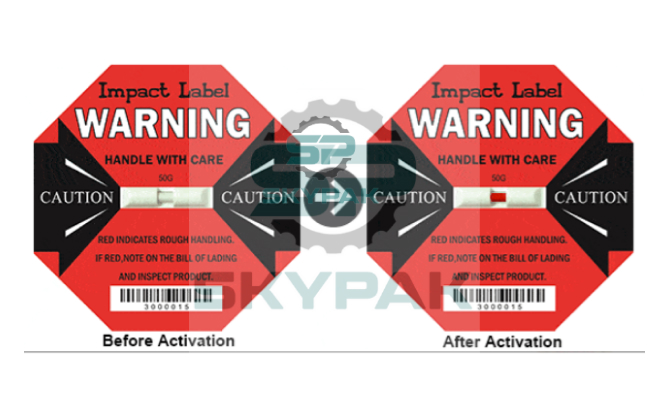
The shock detection label’s red warning is visible to indicate mishandling
The decal layer is easy to remove and sticks to the package without any assembly tools.
Sensitivity corresponding to each different load
The label is ISO 9001:2015 certified, SGS and TUV Rheinland certified for technical recognition, quality, and safety assessment of products and services according to international standards.
Benefits of impact detection labels
Reduce damage by preventing mishandling cases that cause damage to goods
Make a quality assurance statement about your product
Transport or service providers can be blamed if problems occur
Helps file damage claims quickly.
Build and maintain good relationships with carriers and customers
Instructions for using the shock detection label
Step 1: Determine the sensitivity of the product
To select the appropriate level of shock detection label, the user needs to determine the sensitivity of the product. The higher the sensitivity of the product, the lower the label level should be selected. For example, for sensitive products such as glass, ceramics, and solar batteries, you should choose a label with a level of 25G gold.
Step 2: Proceed to paste the label in the appropriate position
Locate the appropriate labeling. Usually, the label will be affixed to the 2 opposite sides of the box. Next, remove the decal off the shockproof sticker and stick it in the predefined position. Care should be taken when removing the decal and applying the label because the label is very sensitive even if the decal has not been removed.
Step 3: Check the parcel
Inspect the package at a height of 90cm from the ground/hard ground. If the shock detection label is active but the goods are still intact and undamaged, proceed to raise or lower the level of the label.
Step 4: Keep the seal code
On the collision detection label, there is a unique identifier for proof, based on this code to retrieve the package to avoid being exchanged or exchanged during transportation.
To learn more about the instructions for using the shockproof sticker, readers can follow the specific video tutorial here: https://www.youtube.com/watch?v=vdbCnBLSndw&t=4s


